Go into options and enable the Workshop. Then you can find the Skins Editor when you’re selecting a weapon in the inventory on the right bottom screen.
New Skin
“New Skin” creates a folder in your PAYDAY 2 library on your computer found in \SteamLibrary\steamapps\common\PAYDAY2\workshop. In this folder you’ll be able place all images used to create a Skin. This Folder only holds one Skin. If you want to create another Skin, then just press “New Skin” again and a new folder will be created in the workshop folder. Also, to get to this folder you can press “Browse to skin folder” in the skin editor.
Publish
By pressing Publish you’ll get to name your weapon and provide it with a short description to be used on the Steam Workshop. You’ll also need to add a screenshot. The screenshot you upload mustn’t exceed 1MB. As you upload your Skin it’s sent to the Steam Workshop and the community are able to view and like or dislike your Skin.
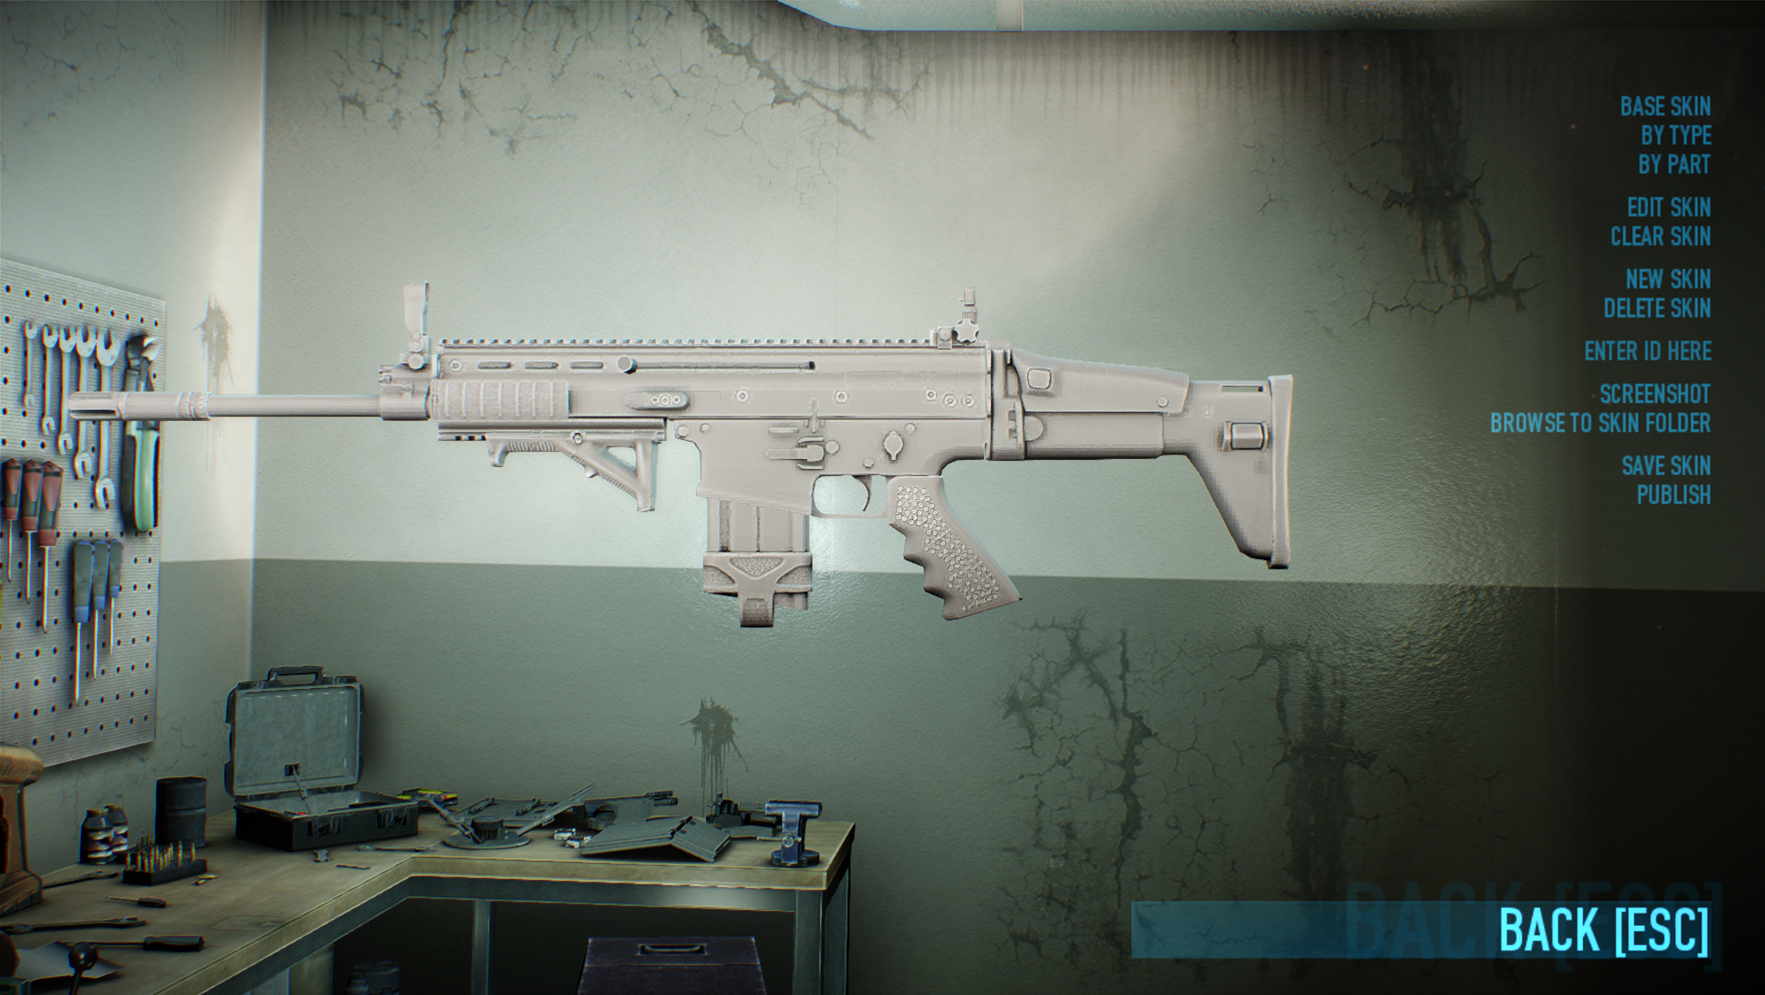
Navigation – Weapons
- “Base Skin” is the entire weapon and applies the skin to all parts and mods.
- “By Type” changes all parts within one category. So if you change the Stock, all stocks will have the same customization.
- “By Part” will only apply to one specific part of the weapon. For example, one specific stock or grip. This option also tells whether the model/part consists of more than one sub-part, which than can be worked on separately.
Navigation – Armor
- “Base Skin” is the entire armor and applies the skin to all parts and mods.
- “Select Armor” is where you can control which armor type you want to work on.
- “Select Pose” is where you can control which pose you want your character to stand in.
Other Functions
- “Save Skin” saves your Skin so you can continue working later.
- “Name” is just a temporary name of your locally saved Skin.
- “Pattern Cubemap Intensity” and “Pattern Cubemap Influence” with lets you control how much you want your the pattern to reflect the Cubemap.
- “Sticker Quality Influence” lets you control the specular of the sticker.
Screenshot
“Screenshot” is used to take screenshots of your skin to be used when publishing. When you have taken a Screenshot, the image will be saved in your screenshot folder inside of your Skin folder. You can modify your image by adding a logo for example, but it can not be larger than 1 mb to upload.
Wear and Tear
Wear and Tear can be changed in the menu with a simple slider.
Mods
What Mods to work with is chosen upon choosing weapon. Firstly you attach Mods to the selected weapon and after that you enter the Workshop and apply your skin.